The Tooth Gem Design Planner
Plan a tooth gem before the appointment: choose the spot by how it shows, read the size your tooth really gets, check the color against your shade, price a whole year of wear, and ask the provider the right questions
ToothJewel's Gem Size & Tooth Fit Selector turns a tooth width and a look into a gem size, but its sizes start at 1.8 mm, so on every typical tooth subtle, balanced and statement all return the same gem. Our Smile Line Placement Planner and Gem Shade Matcher can change how a gem reads; until now they had never met the size tool, and our Cost Estimator priced one appointment while our aftercare model expects a bond to last 6 to 12 months. This planner joins them. In its worked example, a 6.5 mm upper lateral incisor gets a 1.8 mm gem at every look, covering 27.7% of the tooth; the size only moves on a tooth wider than 10.59 mm. That spot scores 95 centered and still 83 at the gumline, so the quieter look comes from the color: on an A2 tooth an aurora borealis crystal reads a brightness gap of 1 against a clear crystal's 2. With a $40 fee, one follow-up and removal, a crystal's first year runs $120 to $245 ($10.00 to $20.42 a month) and a diamond's $185 to $745; a second gem added at a later appointment costs one more $40 fee. Every figure is computed from our own calculators, and the tooth, fee and visits are examples, not quotes. It is a planning aid, not dental advice: it does not teach application, curing or removal and recommends no adhesive, and it says to have gems applied by a qualified dental professional, to check your local rules, and what to do if a gem comes off. Inside: 7 steps, 4 printable working pages (a spot and size worksheet, a design card, a first-year budget sheet and a provider question sheet), reference tables and a quickstart, plus a personalised sheet worked from the numbers you enter in the size, placement, shade and cost tools.
Look inside
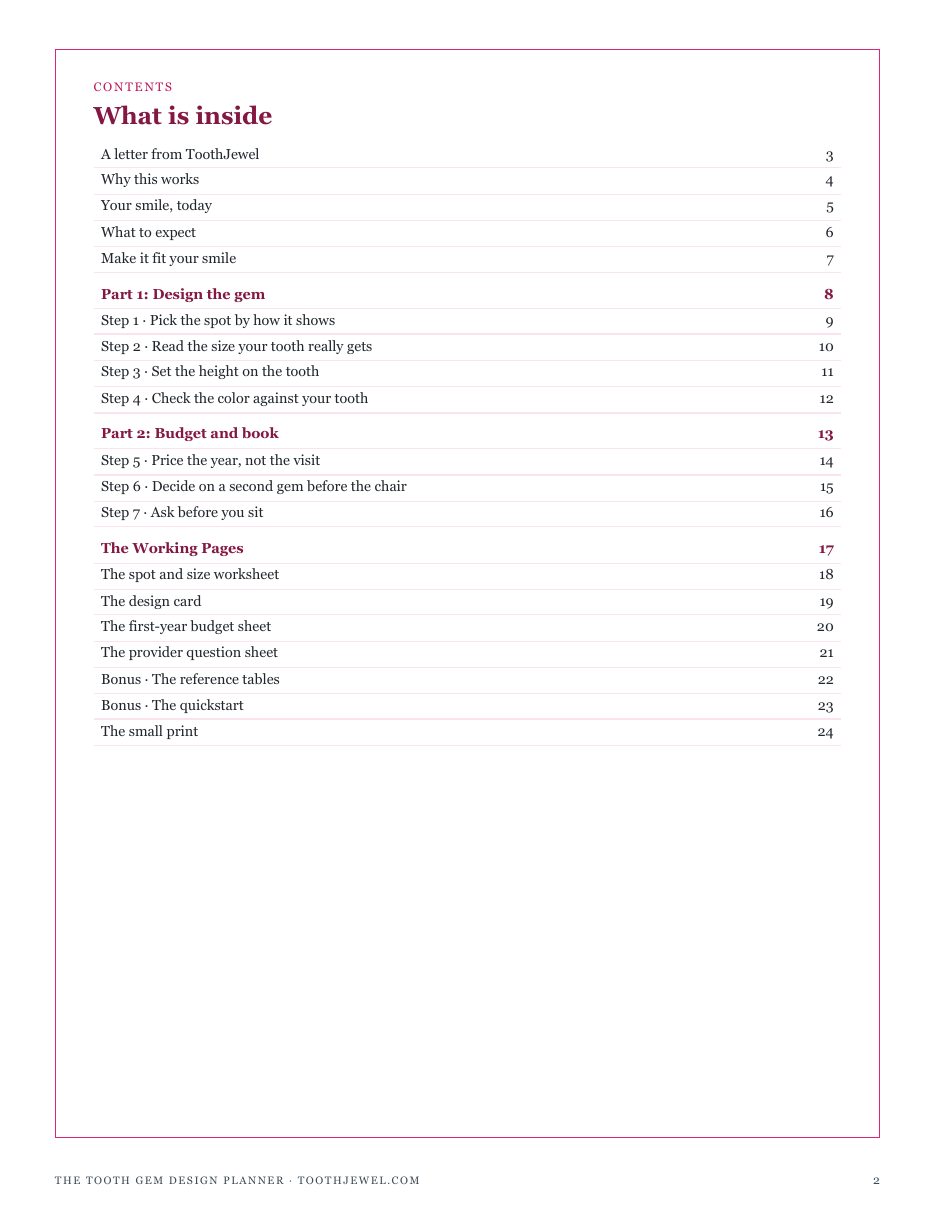
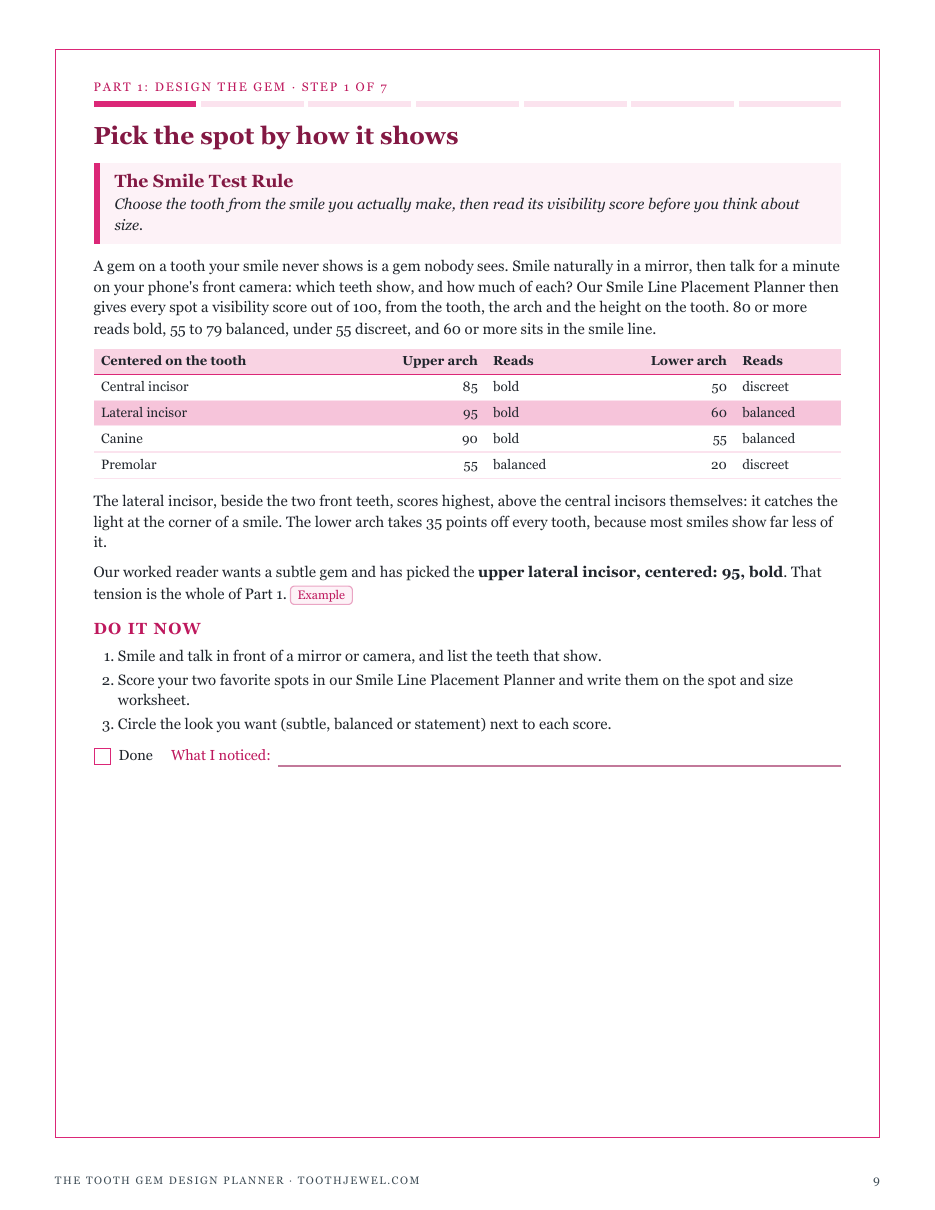
Two full pages from the planner, exactly as printed. Click either to read it at full size before you decide.
What is in it
- The Smile Test Rule: the teeth your smile shows, and a visibility score for every tooth, arch and height
- The Floor Size Rule: why every look gets the same 1.8 mm gem on a typical tooth, and the share of the tooth it covers
- The Height Before Size Rule: moving the gem to the gumline or the other arch, and what the provider decides
- The Two Contrasts Rule: brightness from the shade matcher, hue by eye, and the design card
- The Bond Sets the Clock Rule: the first year low and high for every gem type, and the cost per month
- The Pair Before the Chair Rule: a second gem at the same appointment against a later one, and uneven coverage
- The Ask Before You Sit Rule: nine questions for a provider, with what a good answer sounds like and the safety facts
- Four working pages: a spot and size worksheet, a design card, a first-year budget sheet and a provider question sheet
- Reference tables for every spot's visibility, every shade against every gem color and coverage by gem size, and a quickstart
- A personalised sheet worked from the figures you enter in the size, placement, shade and cost tools
- ✓ 24 printable pages
- ✓ 10 sections, worksheets and templates
- ✓ A second PDF worked out from the numbers you enter
- ✓ No account needed, just an email address
- ✓ Instant download; link valid 7 days
Price includes any taxes. Sold by GrabURL, who handle checkout and support. The charge appears on your statement as GrabURL.
The planner picks up where the free Gem Size & Tooth Fit Selector leaves off. On a typical tooth the selector returns the same 1.8 mm gem for every look, so the planner finds the look you want with the Smile Line Placement Planner and the Gem Shade Matcher, and prices a whole year of wear with the Dental Jewelry Cost Estimator. It is a planning aid, not dental advice: it does not teach application, curing or removal. Have tooth gems applied and removed by a qualified dental professional, and check your local rules.